I have long been trying to find a way to create awesome, durable masks to wear for fun and festivals.
I wanted to find a method that wasn’t too hard, too messy, or took up too much time and space.
Here is what I came up with.
Many of the products I used can probably be substituted with like brands or like substances.
You will need –
Cheap potter’s clay
Styrofoam head
Plastic wrap
Tape
Paper bags
School glue
Scissors
Celluclay
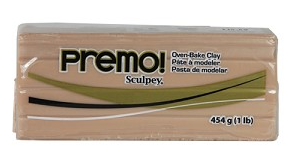
Sculpey clay
Acrylic paints.
(Some of these things may be optional)
Note – Mask creation does take a lot of time for drying
and setting but you don’t have to be present for any of that.
First you will need some basic potters clay – the cheaper the better –
as you will be wanting a lot of it.
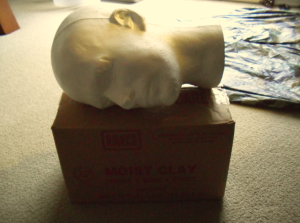
Next you will be wanting one of those cheap Styrofoam wig heads –
try to find one that is as close to the size of your real head as possible –
Now we can begin.
(Depending on your inherent clumsiness –
You might want to do this part outside.)
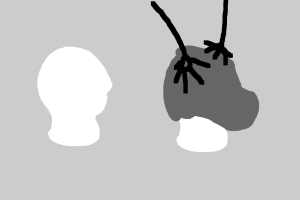
Cover your Styrofoam with plastic wrap and tape the wrap in place –
It may not be necessary to cover your wig head in plastic –
but that is what I did because I wanted to protect the head for further use.
Now you may glop clay on to the head.
(If your cheap potter’s clay has dried out completely
you can dissolve it in water and wait for it to dry down to a workable consistency –
This could take several days- when the clay is firm but not sticky you are ready to work.)
My foam head was smaller then my own head so I had to build on to it with clay until it was larger then my head.
Error on the side of caution! Bigger is better – Bigger masks can be made to fit smaller heads –
smaller masks must be given away to smaller people.
Once your clay covered head is big enough you can fashion the roughly spherical glob
into the creature head of your dreams.
(Note – keep it simple for now –
this is only a mold –
too many horns and ridges could make it hard to remove your mask from the mold,
details can be added later.)
Be sure to line up whatever face holes you came up with, with where your own eyes and nose will be
– don’t forget some mouth room if you want to be able to talk while wearing your mask
– (such as in a play)
This will prevent you from suffocating –
bumping into things
and otherwise spoiling your fun.
When you have a clay head you are satisfied with,
you can take some time off,
but don’t wait too long or the clay mold will dry and crumble.
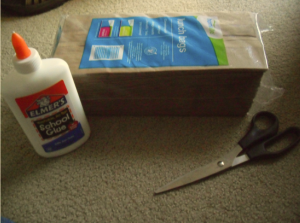
Next you will need brown paper bags, scissors and basic school glue.
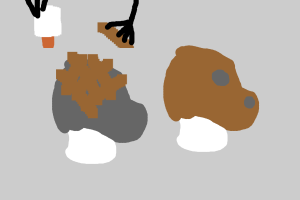
Cut the paper bag into strips and stack the strips smoothly over your clay head using glue to hold them together.
You could do this while watching TV.
You don’t need to completely cover your mold in one sitting but if you do, make sure the paper is layered thick enough and the glue dry enough before you try to remove your mask from the mold.
(Don’t cover your eye/breathing holes! They will be hard to cut through later!)
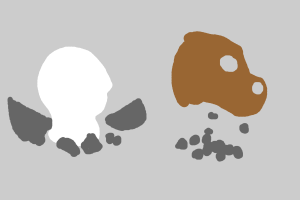
By now my mold started to crack and I was able to free my mask easily.
Note – some people can make masks using bag paper alone –
stacking it over and over –
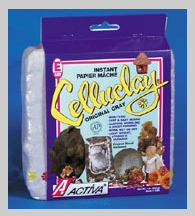
but I got lazy and used this Celluclay stuff.
It’s packed tight and there is more in that package then meets the eye.
I finished my mask with Celluclay to spare!
Celluclay is a finely ground paper mache with the glue included.
You wet it and it feels like canned tuna.
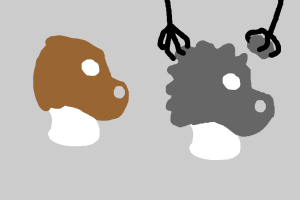
Most of the crests and ridges of my mask were formed in a finishing layer of Celluclay.
Celluclay need not be applied all at once.
You can make a little at a time and let it dry a little at a time.
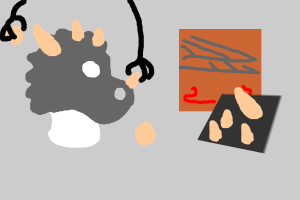
I added horns and a beak to my Mask using sculpey clay.
I shaped the horns onto the mask then gently pried them off and baked them.
Note – DO NOT PUT THE MASK IN THE OVEN –
Once the horns were hardened and cooled I used additional Celluclay to imbed them.
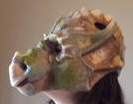
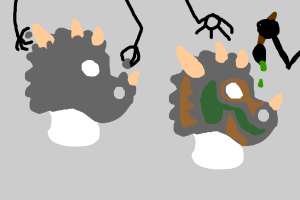
I finally painted my mask using gold, silver, brown and three shades of green acrylic paint.
Acrylic is somewhat water resistant.
This mask can have water splashed on it and survive but I wont trust it in rain.
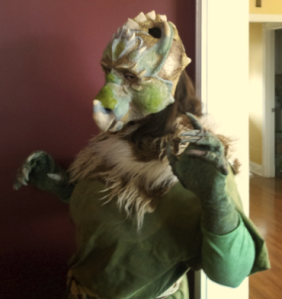
Now if the mask fits, wear it!
I made a dragon, but other beasts, I’m sure, are possible.
The hands were sea creature hands bought off amazon.com.
See you at the nerd convention!

Awesome! You are so beautiful!
Mais Thank you Madame Twisted – to what do I owe this?